Managing software on Linux works a bit differently than downloading an .exe file on Windows. Instead of visiting a website to download an installer, Linux distributions rely on built-in package managers.
Because different Linux distributions (such as Ubuntu, Fedora, or Arch) use different package managers, installation commands vary depending on the operating system. On Ubuntu and other Debian-based systems, software is managed using APT (Advanced Package Tool).
Step 1: Install Git
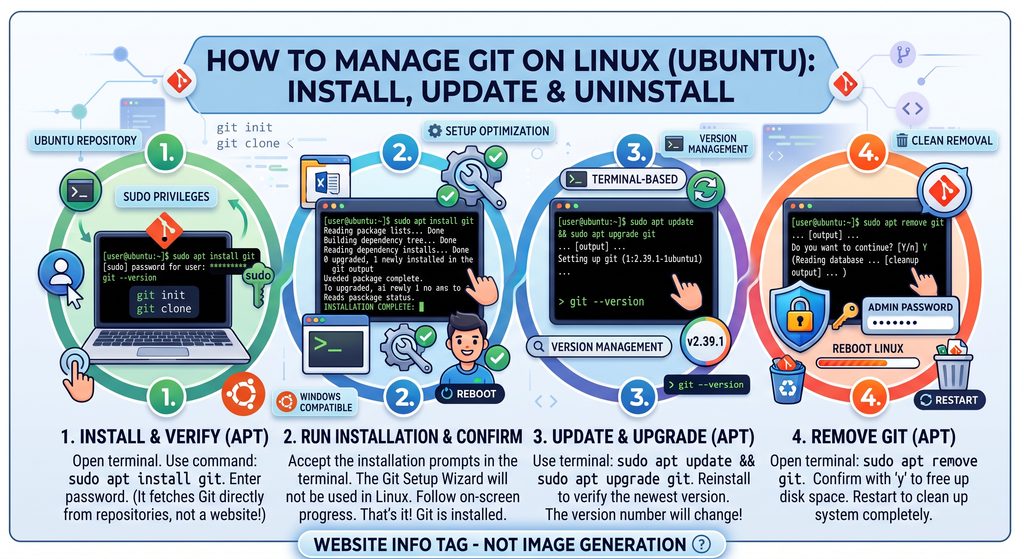
To install software on Ubuntu, you use the apt install command followed by the package name.
Installing system-level applications requires administrative privileges. If you run the command without elevated permissions, the system will return a Permission denied error. To execute commands as an administrator, preface them with sudo (Superuser Do).
- Open your terminal.
- Run the following command:
Bash
sudo apt install git
- When prompted, enter your administrator password.
- Type
yand press Enter to confirm the download and complete the installation.
Step 2: Verify the Installation
Confirm Git is installed correctly and check the active version by running:
Bash
git --version
Step 3: Update Git
Package managers keep software up to date by fetching the latest releases directly from software repositories. To update Git to the newest version available:
- Update your local package index:
Bash
sudo apt update
- Upgrade Git (or reinstall the latest package version):
Bash
sudo apt --only-upgrade install git
Step 4: Remove or Uninstall Git
If you need to remove Git from your Ubuntu system, use the remove option in place of install:
- Run the remove command:
Bash
sudo apt remove git
- When the terminal asks for confirmation to remove the package and free up disk space, type
yand press Enter.